- Put the OPS SQL installation cd in your CD-ROM drive. Go to OPSSQL_CLIENT and click on Microsoft SQL 2000

- Select Open on File Download dialog

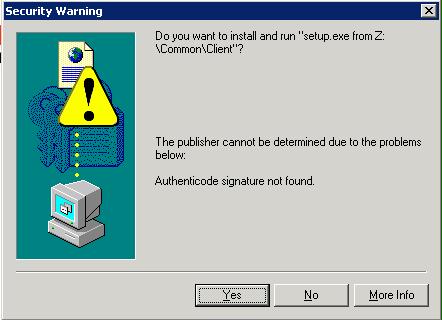
- Click Yes if a Security Warning Message pops up.
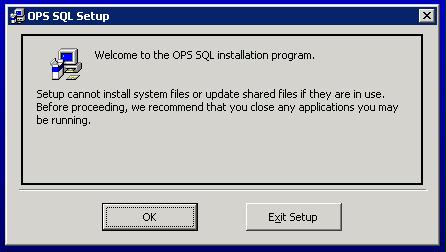
- Click OK on the installation welcome screen:
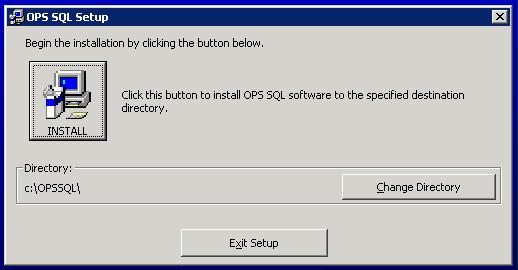
- If you would like to change the default installation path, click on Change Directory. Otherwise, click on the INSTALL button
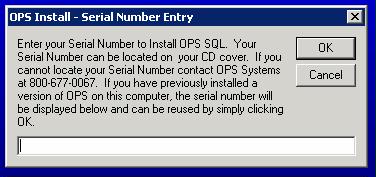
- The install program will now prompt for a valid OPS SQL serial number. This number can be found on the installation disk. If you cannot find your serial number, contact OPS SYSTEMS. Type in the serial number and click OK.
- The install will now prompt for database info. Select Microsoft SQL and type in your server name (where OPSROOT resides).
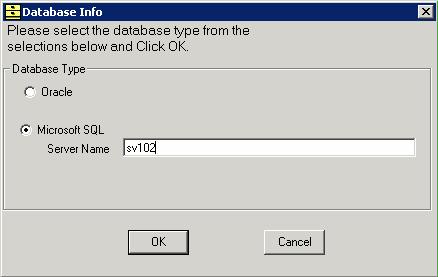
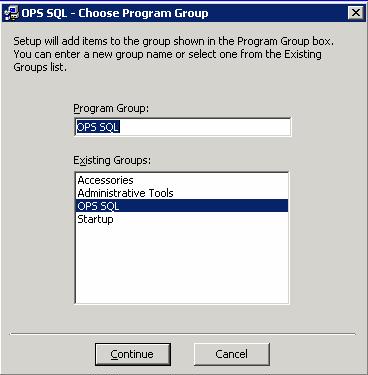
- Click OK. Confirm the OPS SQL program group by clicking on Continue
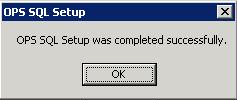
- Stand by while the installation is performed. After a while you should see the following message :
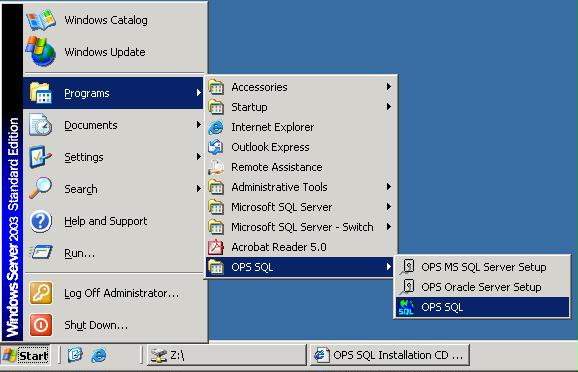
- Start up OPS SQL (from Start/Programs/OPS SQL)
- If you see the following error message :
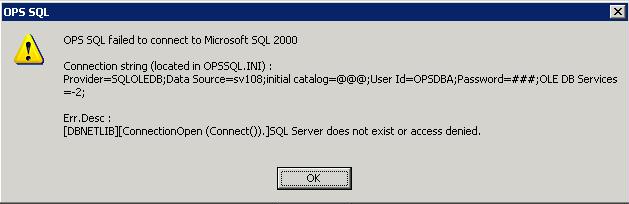
it means that you did not specify the correct database server name during install (you do not need to re-run the install to change this name - just can just simply change it in OPSSQL.INI)
Any other dialog or message means that OPS SQL successfully connected to its database back-end.
|
 |
|
|
|
No Related Articles Available.
|
|
|
|
|
No Attachments Available.
|
|
|
|
|
No Related Links Available.
|
|
|
|
|
|
|
|
|
|
No user comments available for this article.
|
|
|
|
|
|
|