|
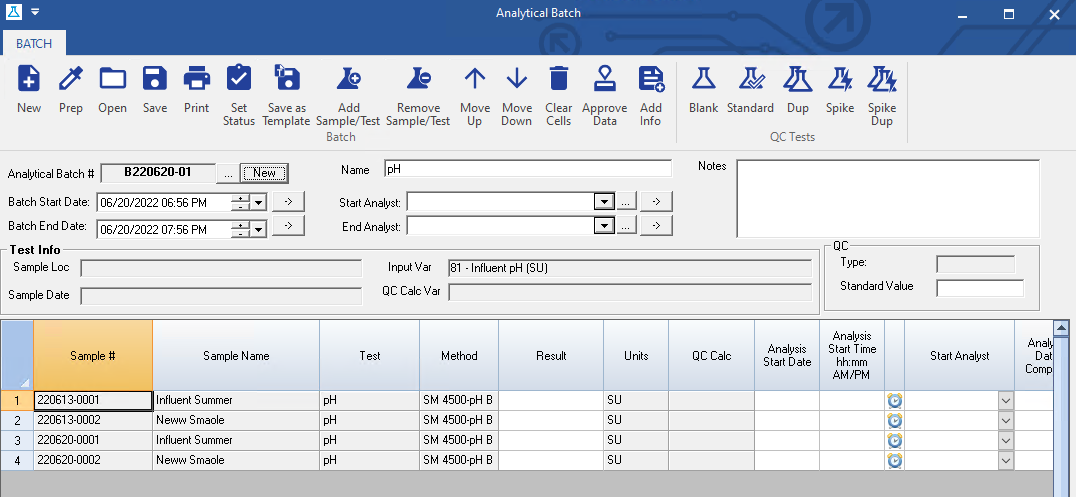
Allows you to create an analytical run (batch) to enter/edit/approve results and QC information for Received/Analyzed Samples for selected Tests. Example, all TSS tests that are in the lab and not closed. |
 |
 |
GETTING STARTED
Before using Enter by Batch, the QC for the Tests must be setup. This is done in Test Setup. For example, pH you need an ICV (Initial Calibration Verification Standard) and a duplicate as part of you lab QC when running a pH Batch.
1. Setup 4 variables:
| Variable Name |
Units |
Type |
Notes |
| pH ICV (7.0) |
SU |
Minute Parameter |
Using a standard of 7.0 |
| pH ICV % Recovery |
% |
Minute Parameter |
This will be calculated in the Batch and stored in this variable. However it is not a calculated variable. |
| pH Dup |
SU |
Minute Parameter |
Duplicate Entry |
| pH Dup RPD |
% |
Minute Parameter |
Relative Percent Difference calc. |
NOTE: It is recommended that you make your QC variables Minutely.
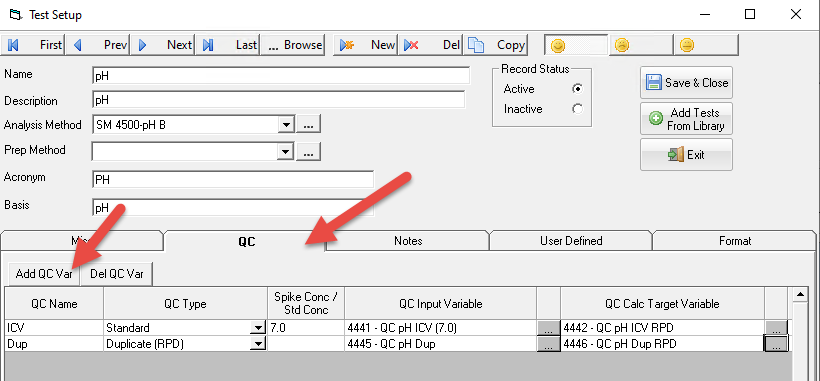
2. Setup the QC for the pH test. Go to Test Setup, QC Tab and use the Add QC Var button to create the following 2 rows referring to the variables created above:
USING:
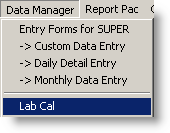
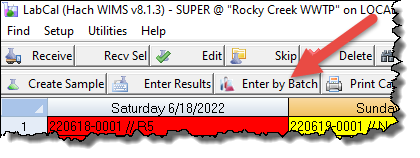
1. Open Enter by Batch.
2. Click New to start a New Batch (Analytical Run)
3. Click the ...Add button to add the tests you want in this Batch. In this case choose pH.
4. Click Refresh and all samples that have pH that are in the Lab (status Sampled) will be displayed. An "X" in the first column indicates the Sample/Test will be added to the batch. Click on a row to toggle.
5. Click Create Batch.
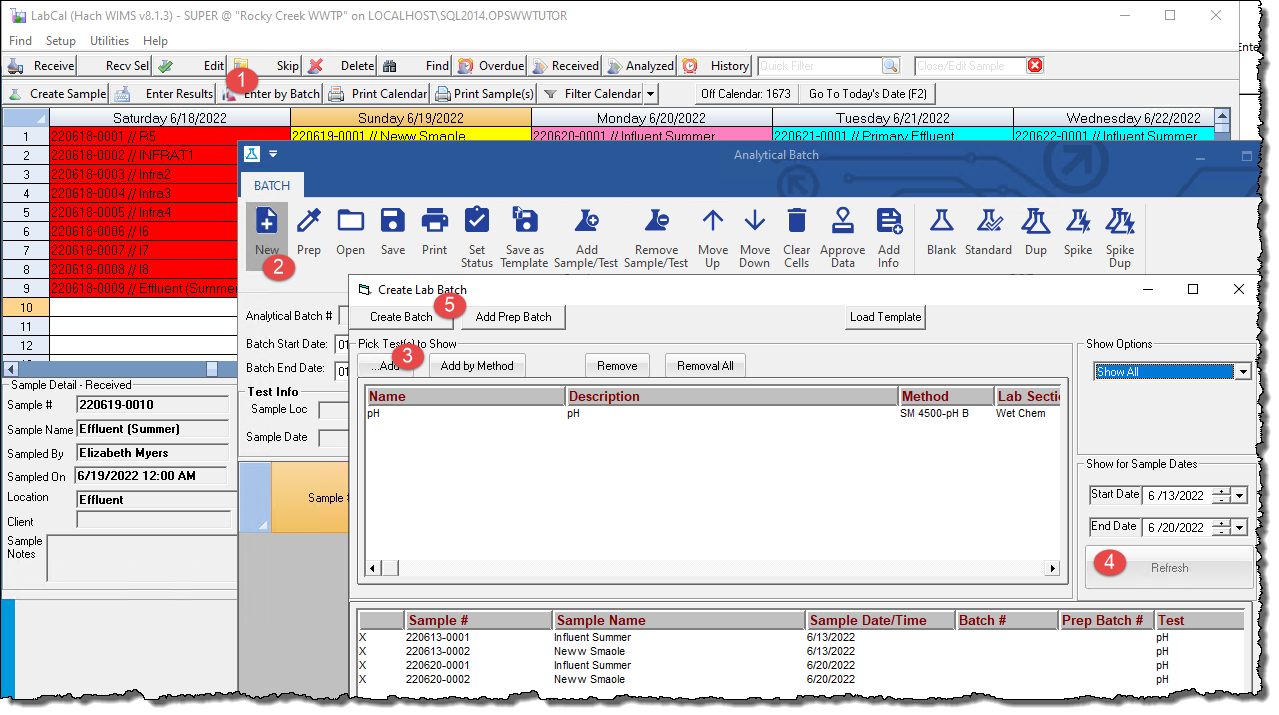
The batch is created
BUTTONS:
 |
Used to set a date range |
 |
Displays the samples that have been received for the selected tests that are in the specified date range. |
 |
Changes are saved and then the form is exited. |
 |
Exit the form. Changes are not saved. |
 |
Brings up a screen that will let you search for samples that test results have been entered for with search criteria that you select. First you will have to click on a test from the grid below in order to get started. |
 |
Saves the current configuration of the form including Tests, Show Options, Form Size, startup position, and column widths. Will prompt for a name to save the settings under. |
 |
Saves the current configuration of the form including Tests, Show Options, Form Size, startup position, and column widths. |
 |
Allows users to pick from the saved settings and loads tests, show options, etc.. |
 |
Resets the form to the default settings, i.e. clears tests, resizes columns to their default... |
 |
Print Previews the current view. Hint: Resize columns to fit on page. |
 |
Allows you to select the data approval level for the entry. Unchecking the box and then clicking the Approve button will allow you to change the approval level for variables set up to track data approval levels. See Data Approval Setup. |
 |
Used to change the Analytical Method used for the current test. Defaults to the default method for the test. |
 |
Clears the information in all of the highlighted white cells. |
Fields:
| Test Info (Method, MDL, etc.) |
These are read-only fields that are associated with the test and sample whose row is selected in the grid below. |
| Result |
Enter the test result. |
| Analysis Start Date & Time |
Enter the date and time analysis was started for the test. |
| Date & Time Complete |
Enter the date and time analysis was complete. |
| Analyzed By |
Enter who performed the test. |
| Result Comments |
Enter any comments associated with the test. |