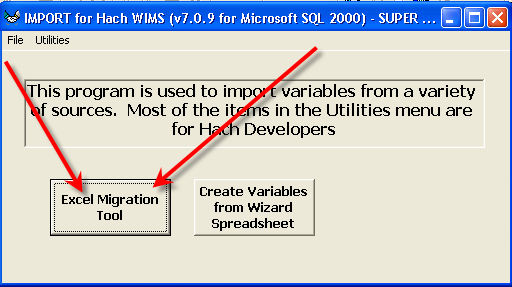
The Excel Migration Tool is an internal tool (in the OPSSQLIMPORT.EXE) that allows Project Managers to create variables and import data from customer's existing Excel files.
Basic Steps:
1. Prepare customer's source Excel files for use with the tool.
- File must be an .XLS (xlsx is NOT SUPPORTED)
- Dates must be formatted in m/d/yy, m/d/yyyy, mm/dd/yy, or mm/dd/yyyy format
- Formulas in Excel must be valid Spread Control Formulas.
- Check for IF(C5="","",C5*D5*8.34) type of if statements as spread does not handle this formula correclty. Need to use IF(ISBLANK(C5),"",C5*D5*8.34).
- When mapping/previewing the files look for any columns that do not have data, if they are calculated it probably means the formula is invalid for our Spread tool.
- Between sheets/files verify mapping is consistent. For example, if Column A contains the dates, make sure column A has the dates in all sheets/files.
- Delete Sheets that will not be imported/used.
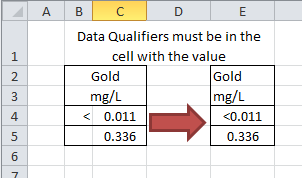
- If you have cells with data qualifiers in a separate column, you must combine the cells in order for the data to import correctly.
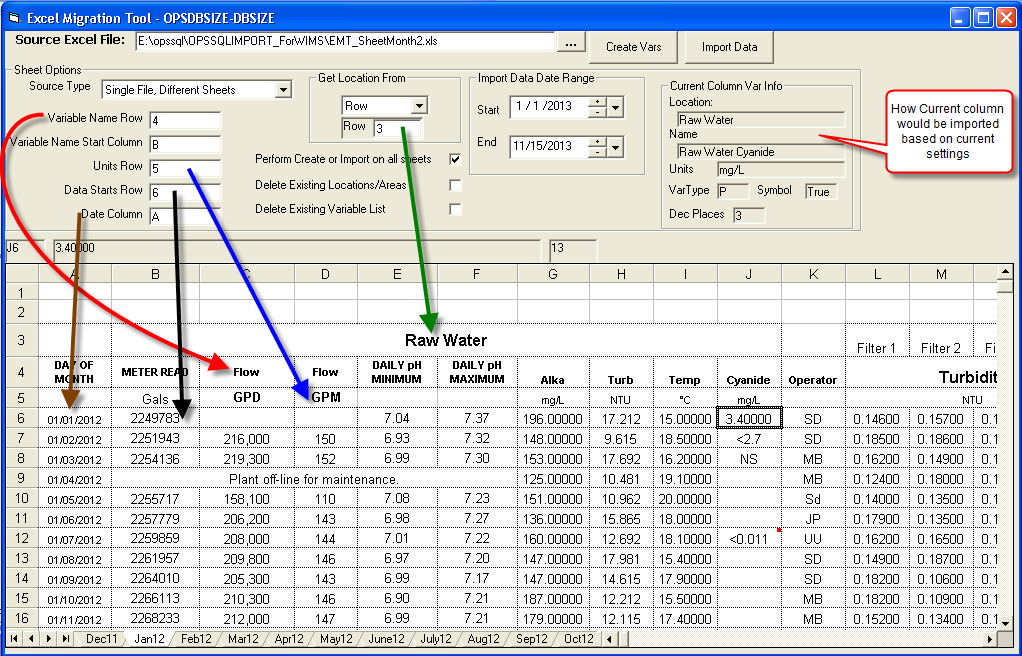
2. Map the source file. This is where you tell the tool where to get location name, variable name, units, and where data is in the source file.
Source Type: Sets the type of Source File(s). The tool supports 3 types:
- Single File, Different sheets - A single Excel file containing different sheets with different data in each sheet. IE a file with a Lab Sheet containing Lab Data, a sheet for Process data and a 3rd sheet with calculated values. Data for entire time span (i.e. several years of data in each sheet, not just a month)
- Single File, Sheet for each month - Excel file has the same format in each sheet and each sheet contains a month's worth of data.
- Multiple Sheet/File, File for each month. You have a file (with the same sheets/columns/layouts) for each month.
Get Location From:
- SheetName - Location is the Sheetname
- Row - Location is identified in a cell on the row specified. Merged cells are supported, i.e. the merged cell text is considered the location for all columns in the merged range.
- Prefix Location to Name - If checked the variable name will be a combination of the Location name and the text in the Variable Name Row.
Variable Name Row: Which row the variable name is in. Merged cells are supported. Combined with Location text if the Prefix Location to Name is checked.
3. Click Create Vars and import the variables. Variables are added to the end of the Variable list by increments of 3. No data will be imported. Two files will be created:
- SourceFileName_imported.xls where SourceFileName is the name of the file loaded. This file will be a copy of the source with a new row 1 (inserted) that will contain the Variable Number created for the column.
- SourceFileName_imported.ss7. This is a Spread Report File of source file with a new row 1 that will contain the variable numbers. The reason this file is created is that when the file is exported to excel the Cell comments (notes) are lost. Since we may want to import the cell notes you should open the ss7 if you are importing data.
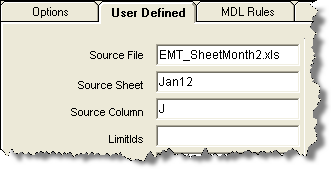
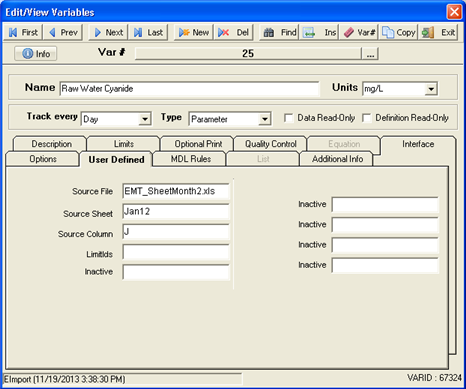
NOTE: UD1 is set to SourceFile, UD2 to Sheetname and UD3 to Column that were used to create the variable.
4. Get into WIMS and verify variables are correct type, Decimal Places, symbol settings are correct (data is imported according to the MDL Rules when importing data with qualifiers so YOU MUST SET the MDL rules before importing). DO NOT CHANGE VARIABLE NUMBERS. THAT IS HOW THE SPREADSHEET IS CROSS REFERENCED TO VARIABLES. Notice after variables have been created (i.e. Create Vars button clicked), Row 1 (which is auto inserted) contains the variable numbers.
5. Use Import Data to import the data into the variables. If you reopen the tool, you need to open the SS7 copy of the Excel Sheet as it will have the variable numbers and will keep the Cell Comments/Cell Notes.
Import Data will:
- Round the data to the variable's Decimal Places.
- Import data according to the variable's MDL Settings.
- Import Cell Comments as Result Comments
- Import invalid results as Result Comments (appending to the above step if necessary).
- Will import data into Calculated Variables and mark the data as Forced.
6. Use the Var Admin Tool to rearrange/organize your variables.
EXAMPLES:
1. Single File with a sheet for each month. Each Sheet has the same columns.
FAQs:
1. Can I use it to import data if I already have a database setup?
Yes. Open the source file in Excel. Insert a new row 1 and enter the variable numbers in that row to cross reference the variable to the column. Open the file in the tool, map the source file, and click Import Data.