In order to install this Hach WIMS Indirect Server-Side Interface from the ISO image, downloaded the ISO image and mount it as a virtual CD/DVD ROM. In order to mount the ISO image, please see knowledge base article Q12278.
You should see the following screen once the ISO image is mounted. If the interface installer hasn't started, navigate to where you mounted the ISO image, open the folder 'Launcher' and double click 'Launcher.hta'.
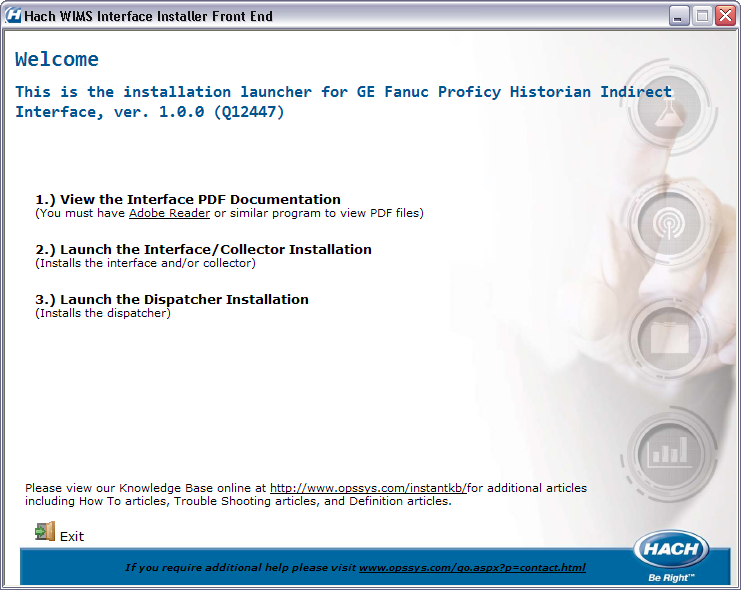
In this example, we can see that we are about to install the indirect interface to GE Fanuc Proficy Historian, version 1.0.0.
1.) View the Interface PDF Documentation. Click this link to review the documentation prior to installing. Adobe Reader must be installed prior to using this feature.
2.) Launch the Interface/Collector Installation. Click this link to begin installation of Interface or Collector.
3.) Launch the Dispatcher Installation. Click this link to begin the dispatcher installation.
The Hach WIMS Indirect Server-Side Interfaces have three prerequisites that are already part of this ISO image:
- .NET 2.0 Framework
- Microsoft Windows Installer 3.0
- Microsoft Security Update MS04-011
If your system needs these components, the ISO will install those packages.
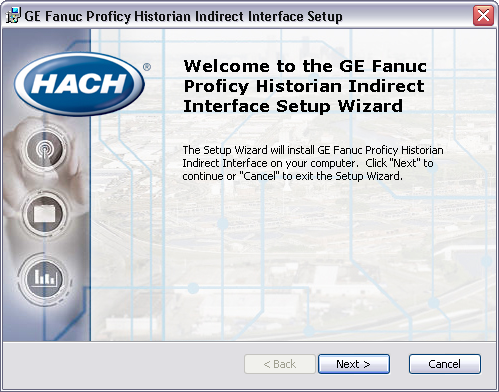
After the installer has made sure your system is ready, it will begin installation process. The first screen is to let you know what is about to be installed, simply click Next:
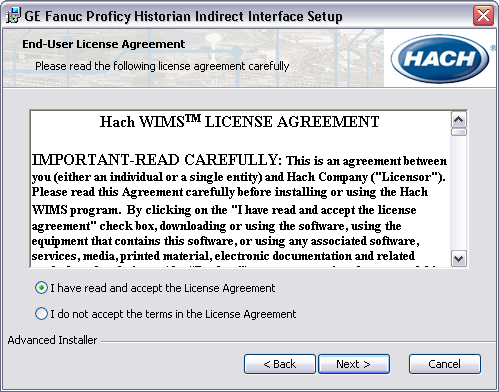
The next screen is the EULA. If you have read it and agree, click the appropriate radio button and then click Next.
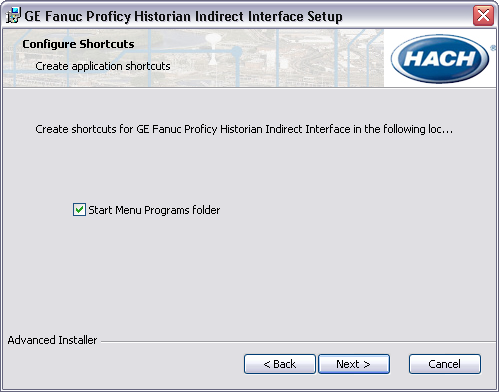
The next screen is for options, for interfaces there is one option. If you wish to add a link to the interface on the Start Menu Programs folder, then make sure the box is checked:
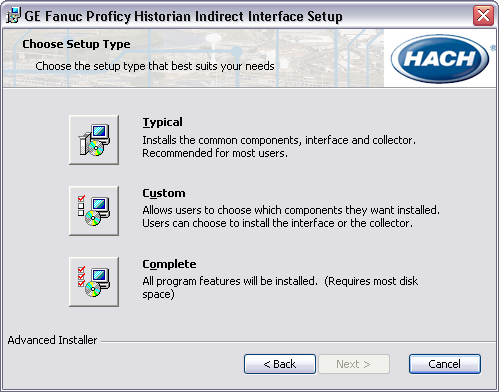
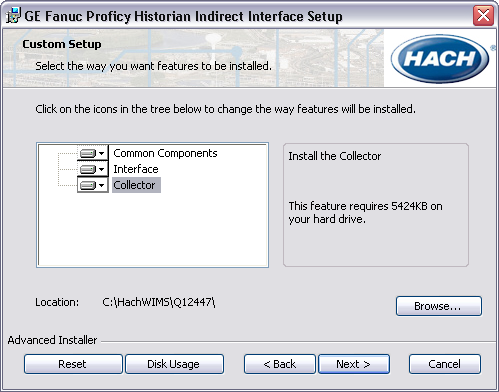
The next screen lets you choose what you want to install. A typical and complete installation install both the collector and interface. The custom installation lets you choose either the collector or interface to install.
If you choose custom installation you are presented with the following screen.
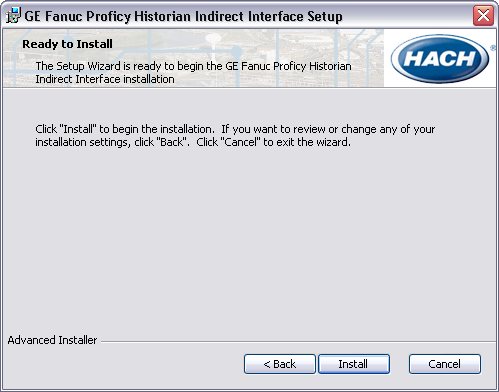
On the following screen it basically says we have all the information needed to install your interface, click the Install button to begin installation. When the installation is complete, click the Finish button.
Now you can run the program from the Start Menu button if you selected that option, or navigate to the folder where the interface/collector was installed and run it from there to begin configuration.