If you have a version earlier than 7.0.0, you will need to uninstall it. During the installation process, the Platform Installer will attempt to detect whether or not you have an earlier version. The OPS SQL Client will need to be uninstalled manually. During this upgrade process, your tutorial databases may be deleted (Rocky Creek and Sandy Beach). Please back them up if you wish to save their content. All the old OPS SQL components will be upgraded or uninstalled by the Hach WIMSTM Installer as needed. During the installation of Hach WIMS, you will run into a few exceptions that you would not find in a normal installation.
NOTE: If you are upgrading you must backup your OPSSQL system.
Uninstalling the OPS SQL Client
You will need to manually uninstall the OPS SQL Client via Add/Remove Programs.
NOTE: Please backup your OPSSQL system before uninstalling.
1. Open Add/Remove Programs Via Control Panel.
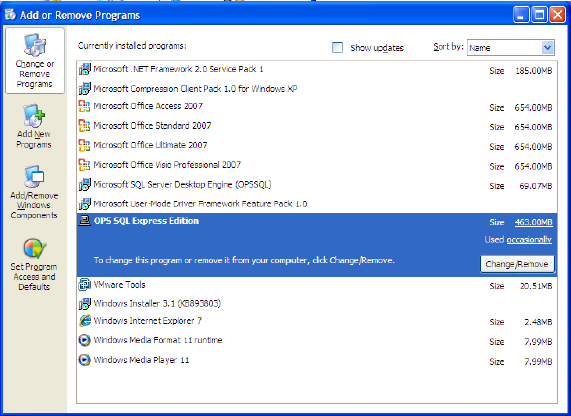
2. Scroll down to OPS SQL. Select it. Press Change/Remove Button. (Your Add/Remove Program may look Differently depending on your version of Windows.)
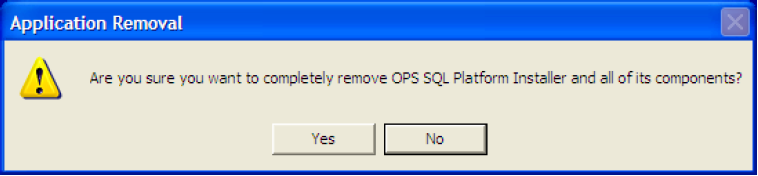
3. You will be presented with the OPS SQL Installer Removal. Press Yes when you are asked if you want to remove OPS SQL.
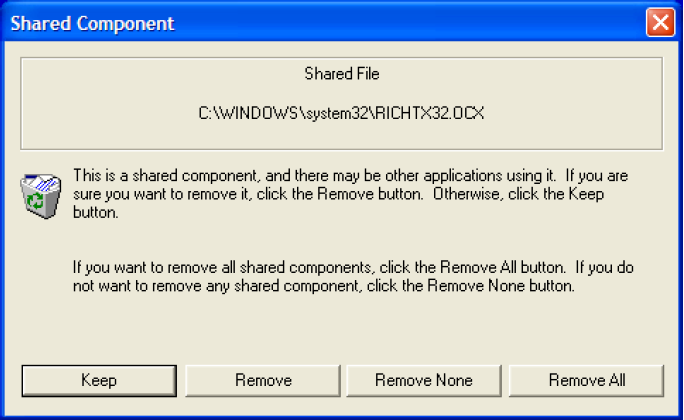
4. OPS SQL will begin uninstalling. You may be asked if you wish to remove a Shared file. Select Remove None.
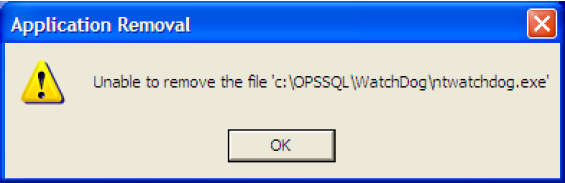
5. You may also be warned about files that cannot be removed. Press Ok.
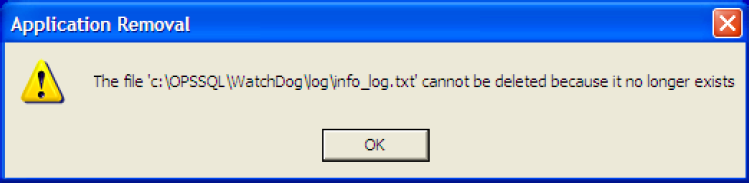
6. You may also receive the following warning. Press Ok.
7. After multiple messages in steps 5 and 6, the un-installation will complete.
Hach WIMS Installation
The installation of Hach WIMS will proceed normally except a few exceptions listed here.
1. Close all programs that are currently running.
2. Place the Hach WIMS CDRom into your CD drive.
3. Choose the Installation Option from the Hach WIMS Launcher.
NOTE: You may see a Prerequisites Wizard if any prerequisites are not installed. Please install these Prerequisites using the Prerequisites Wizard to continue installations. (.Net Framework is a common missing prerequisite.)
Exception 1: Old Versions Cleanup
You will be presented with the Older Product Versions Installed screen. This screen will list all the older products you have install and will inform you of what will be done with these older versions.
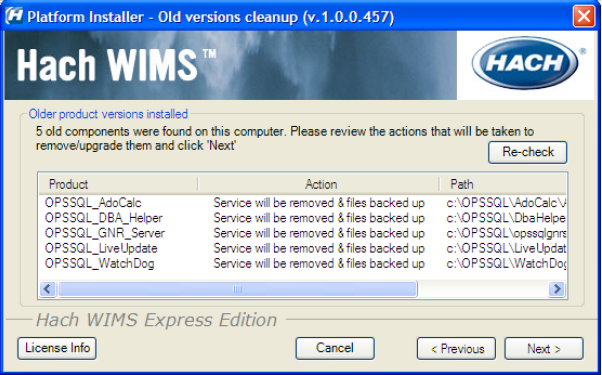
Press next. From here continue installing like normal.
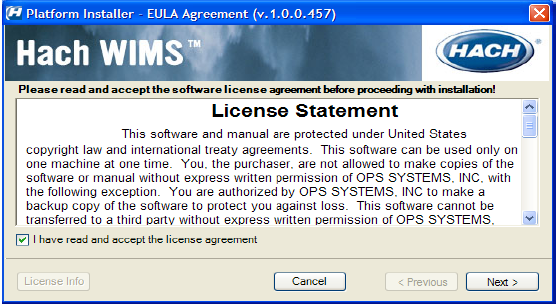
4. The Platform Installer will ask you to review and agree to the License Agreement. Check the Box if you agree and click Next.
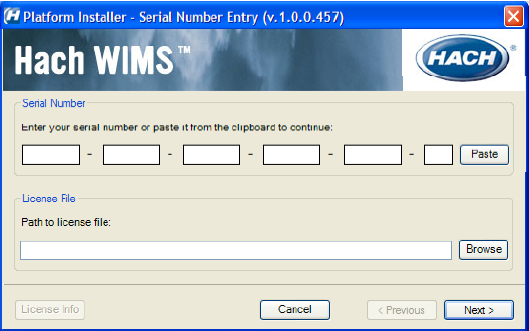
5. The Platform Installer should launch. Enter your Serial number and Browse to your License File (.License2008). Click the Next button. (Your license file should be on the CD or it may be emailed to you.)
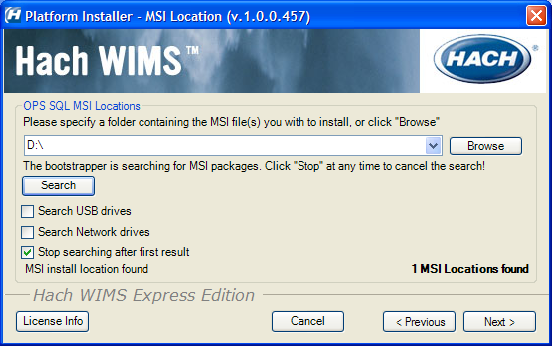
6. The Platform Installer will search for Hach WIMS MSI Locations. You may need to browse to the MSI Location using the Browse button. When a location is found, a popup will inform you. Click Next. If you are installing from the CD you can just click Next.
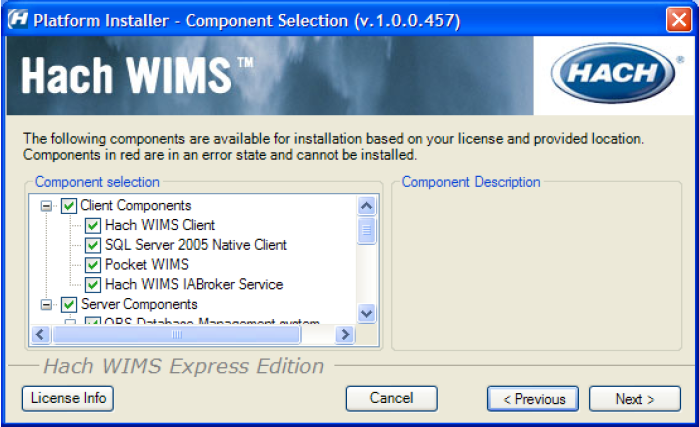
7. Next you are asked which components you wish to install. When you have selected the components you wish to install, click the next button.
a. Server - You only need to install the server components on the one machine that the clients will be communicating with. It is recommended that you install all of server components on the one server machine. It is also recommended that you install all of the client components on that machine.
b. Client - If you are installing just the client then you will need to make sure that only the client components are selected and none of the server components.
Exception 2: Upgrading from MSDE
When selecting which components you‟d like to install, if you select server components, you will an additional message window informing you of the upgrade of your old Database.

Click Ok. You will be warned about how long this upgrade may take. The larger your database, the longer it will take to upgrade.
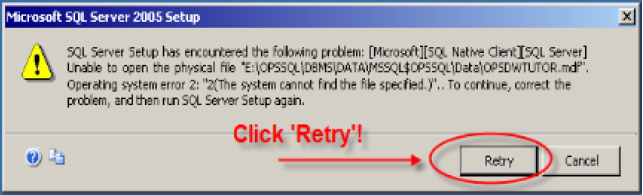
Exception 3: MSSQL 2005 Warning
During the upgrade of MSDE to SQL 2005 you may get a popup window. Click Retry.
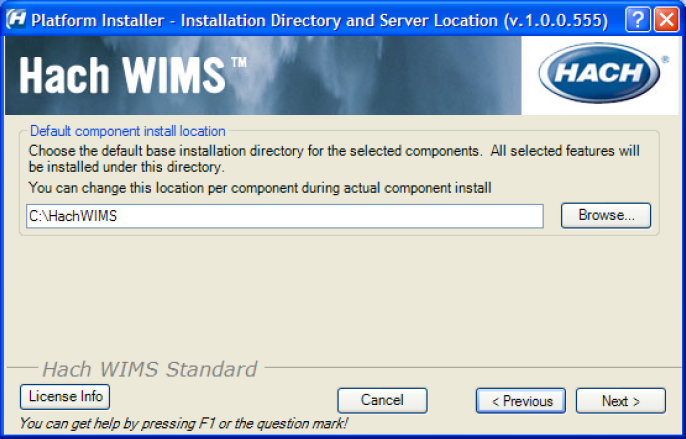
8. Next you will choose your default installation directory and your Server Location. The directory you choose will be the default and each component will be installed with this directory in mind.
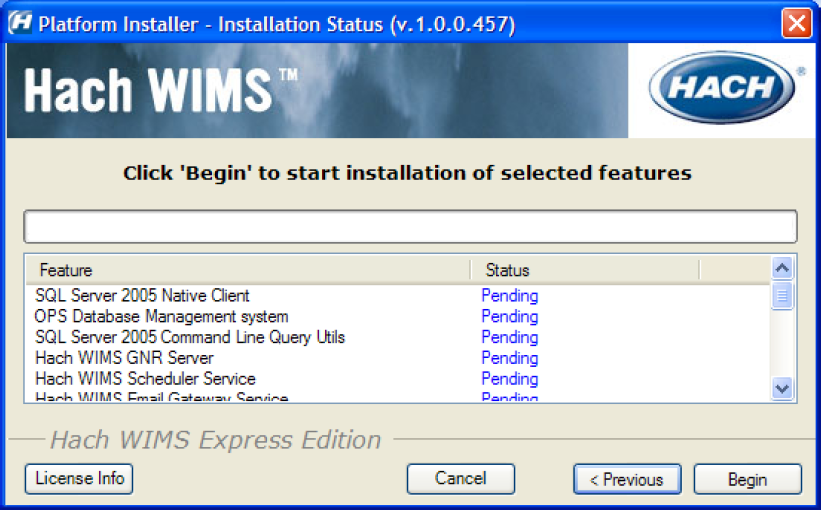
9. The Platform Installer will list the Components that you selected and prepare them to be installed. If everything looks right, click the Begin button. Each Component will have its own Installation wizard. Complete each wizard to continue with installation. Please see the Component Installation section for help with each wizard. Once each component has finished, press the finished button. Congratulations! Hach WIMS is now installed.