Camtasia Studio is a software package by Techsmith that OPS Systems uses to produce knowledge base video content. We encourage customers to produce their own video content for purposes of describing their own standard operating procedures. Eventhough our videos contain continuously captured pc screen along with live commentary of what is happening on the screen, the software can be adapted to capture content from a webcam.
Camtasia Studio can be obtained for $299 per copy from Techsmiths online store.
Once downloaded, follow installation instructions on deploying the software on your PC.
The following instructions will guide you through a process of creating a video file in WMV format :
(NOTE : The actual screenshots may slightly vary depending on which version of the software you are using)
- Launch Camtasia Studio

- You will be greeted to a similar window :
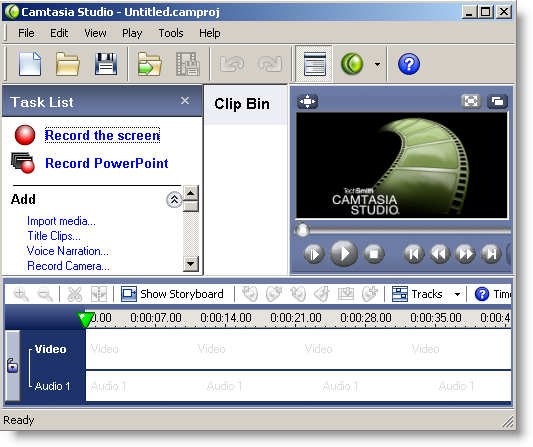
- Click on
 (Record the screen)
- Select region
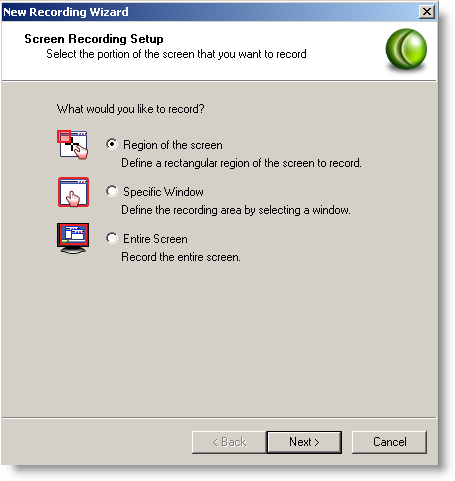
- Continue for selecting the screen region according to the screenshot
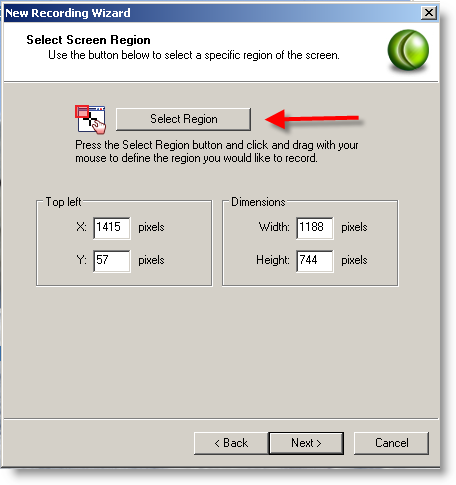
- Once you click on the "select region" button, draw a box on the area of the screen that you would like recorded.
- Add audio recording
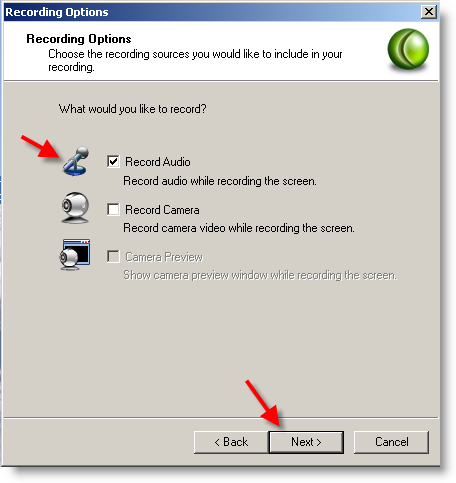
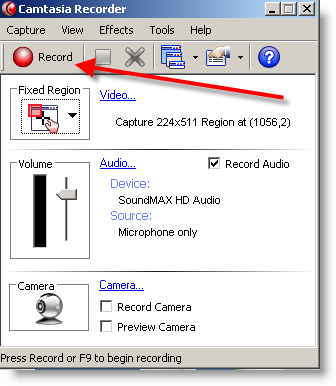
- When ready, click Record on the following screen
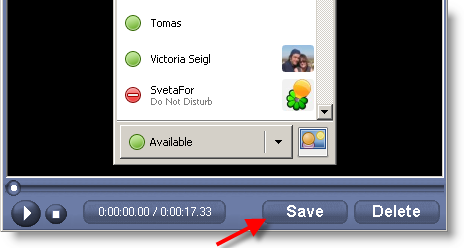
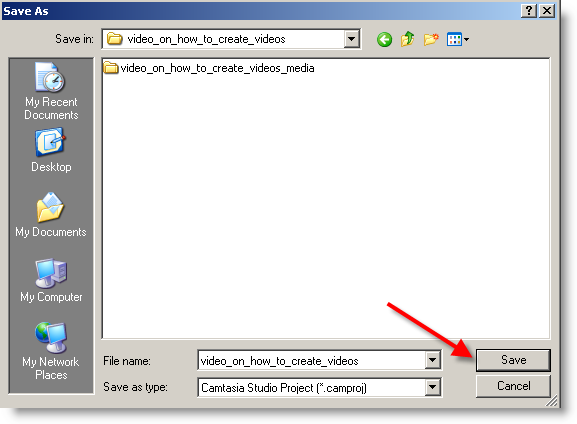
- Once recording is over (and you clicked on the stop button), you video and audio streams will be saved into a camrec file after you click on the Save button
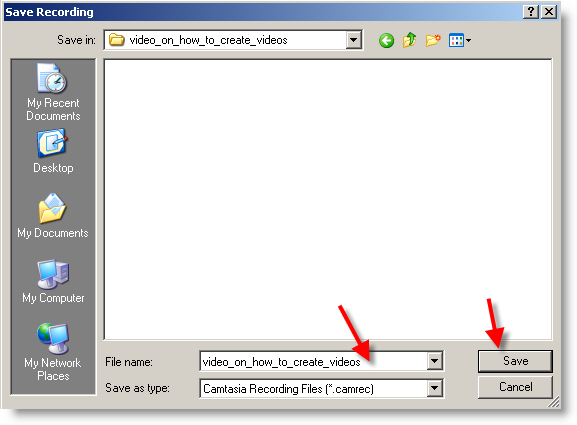
- Give your camrec file a name and click save
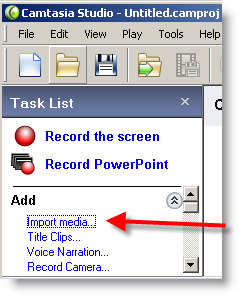
- Then, back in the main window, choose Import Media
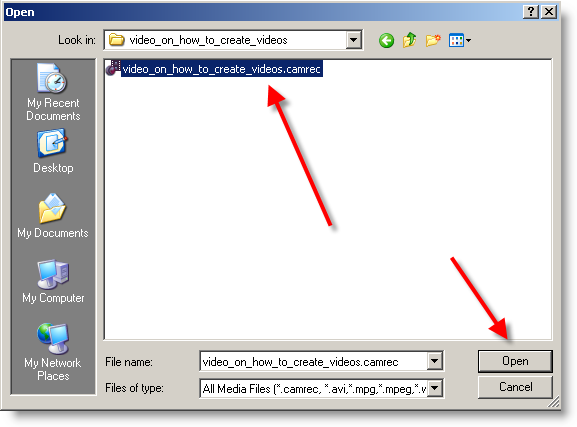
- Locate the just recorded camrec file
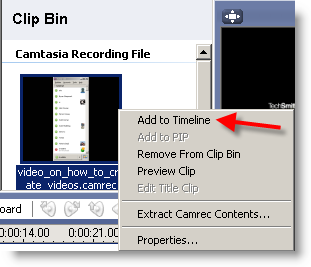
- Right click on the clip and Add to TimeLine
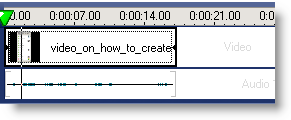
- Your timeline should now be showing the clip included
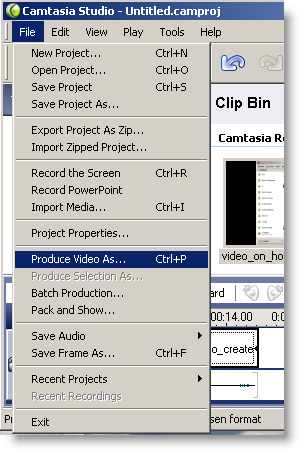
- Go to Produce Video As
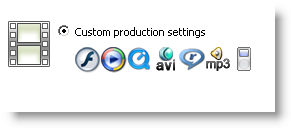
- Choose Custom Production Settings
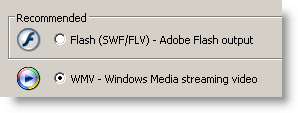
- choose WMV
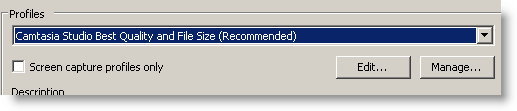
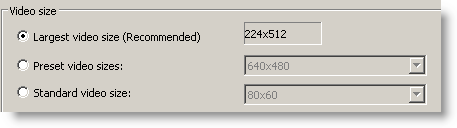
- Select Best Quality
- Largest Size
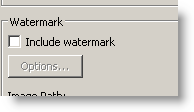
- Optionally include a watermark
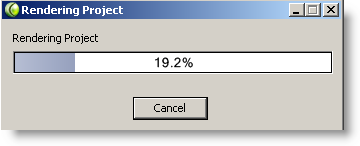
- Name your video and hit Finish

- Depending on the size of video, the following task may take a while
Your WMV file is now ready to be used.
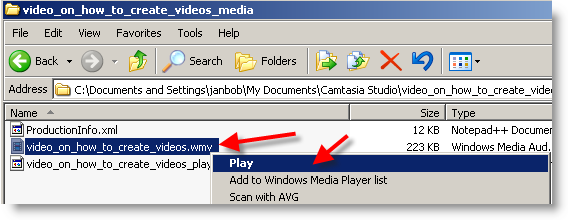
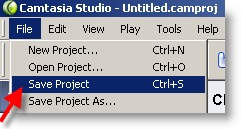
- You also want to save the Project File for later use
- Locate your WMV file and click play to make sure video is working correctly.