Creating a new custom report
The examples shown use the Tutorial database (tutor.mdb). These examples are for educational purposes only. This simple example demonstrates very basic concepts in creating a report. A more practical report would require more effort.
JOB Data Structures
JOB data is stored in a Microsoft Access 97 (Access) mdb file. Each facility has its own mdb file. The MDB file contains several tables that comprise the JOB Database. The following list displays some of the key tables and their descriptions:
| Table |
Description |
| Equipment |
The equipment list |
| WO |
The open work orders (Jobs) that are placed on the calendar and also the closed work orders.
Open wo's have a RecType = 1, closed wo's have RecType = 3. |
| WOLabor |
The labor (employee hours worked) on a work order. |
| WOItems |
The inventory items used on a work order |
Creating a Custom Report
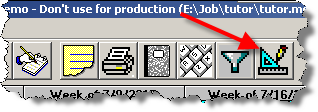
1. Start the custom report designer by clicking the design report icon on the toolbar:
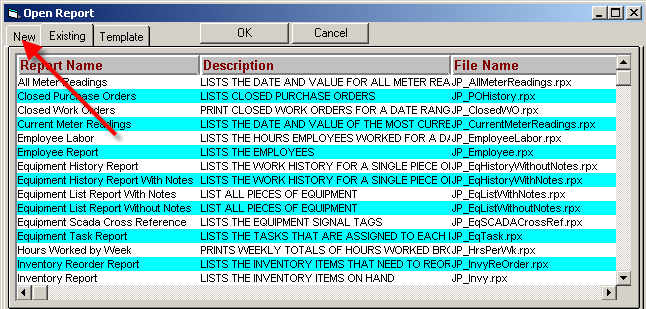
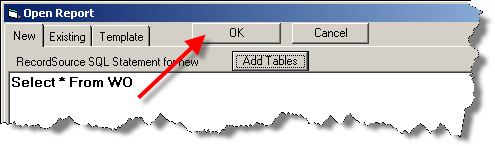
2. The Open Report window, Existing tab will be displayed. This Tab will let you open an existing Report. Click on the New Tab:
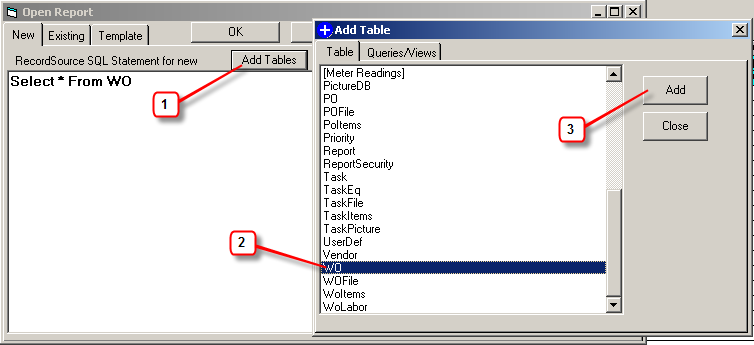
3. Add the tables to be used in the report. In this example, select the WO table:
4. Click the OK button and the designer will be displayed:
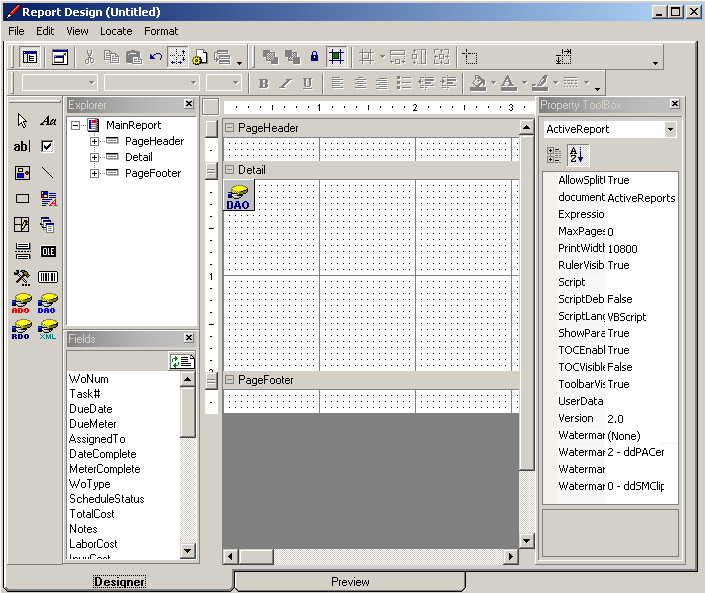
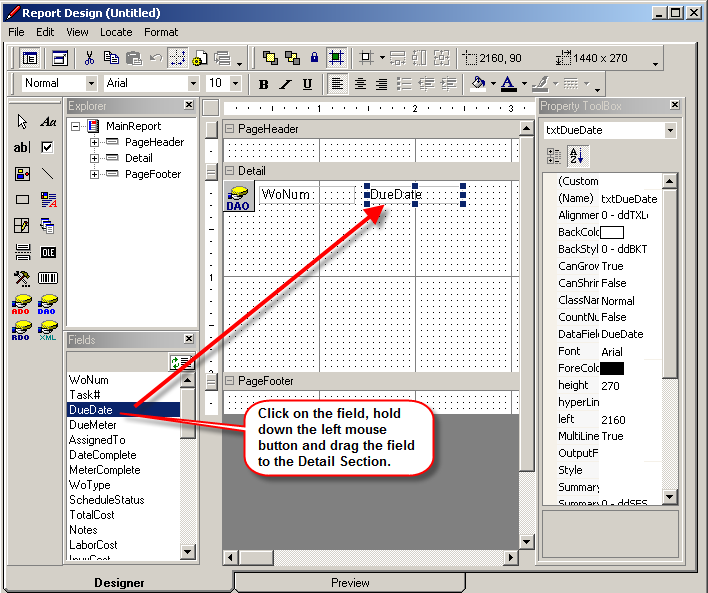
5. Drag the fields you want on your report from the Field List to the Details section of the report. Drag WoNum and DueDate on to the report:
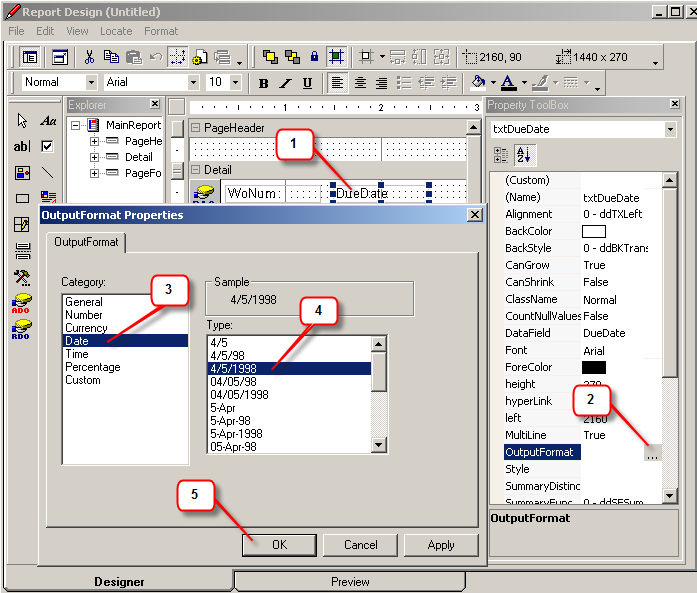
6. Format the DueDate Field. We only want the date to be displayed (by default the date and time are displayed). So click on the DueDate field in the Detail section, and in the Property ToolBox section select OutputFormat and click the ... button to set the property:
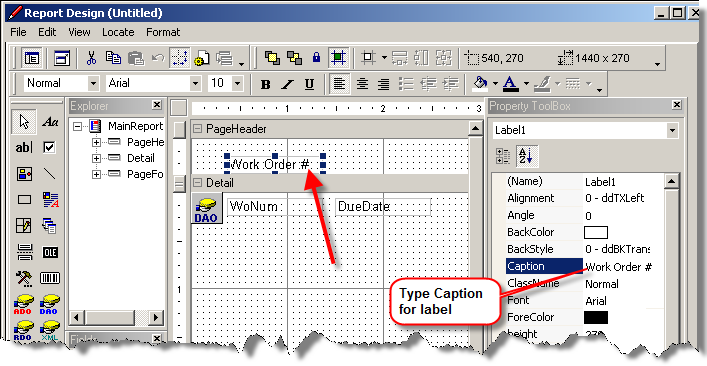
7. Add column headings in the PageHeader section for each field:

The first box that you do will be Label 1. In the Property ToolBox, find the Caption property and set it to the heading you want (Work Order #):
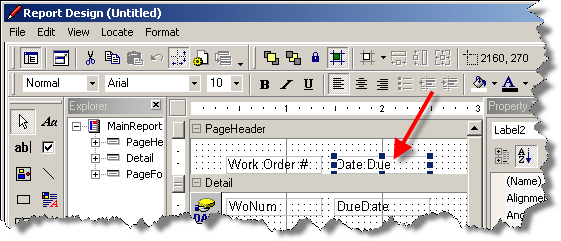
Add another label above DueDate field and set caption to Date Due:
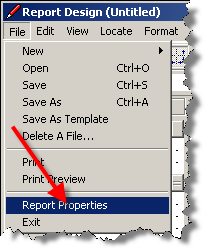
8. Setup the Filter for the report. We want to limit the list of Work Orders that have a due date within a certain range. In order to do this we are going to have to select File, Report Properties from the menu.
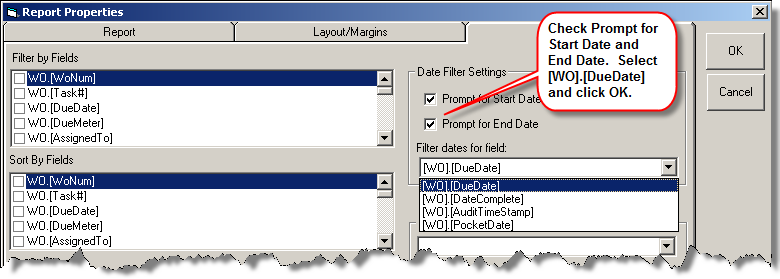
9. On the Sort/Fillters tab check the Prompt for Start and End Date boxes. Then select [WO].[DueDate] from the Fillter dates for field box. Click OK to get back to the main design screen.
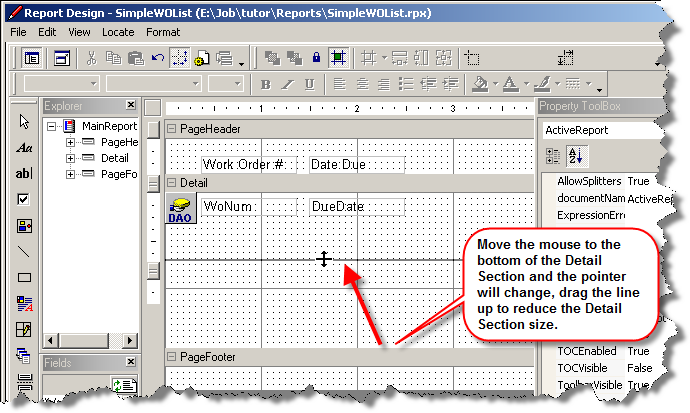
10. Set the line spacing of the detail section by draging the PageFooter Section up:
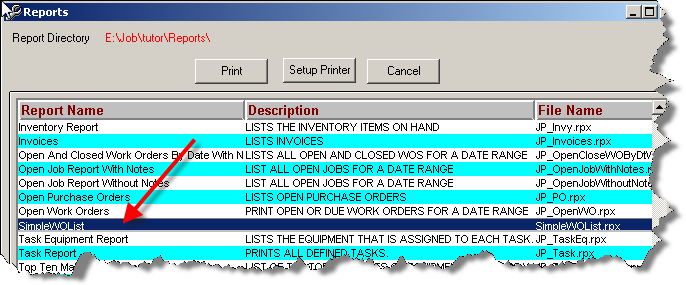
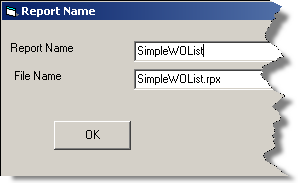
11. Save the report. Click on the menu item File/Save As and Save the report as SimpleWOList:
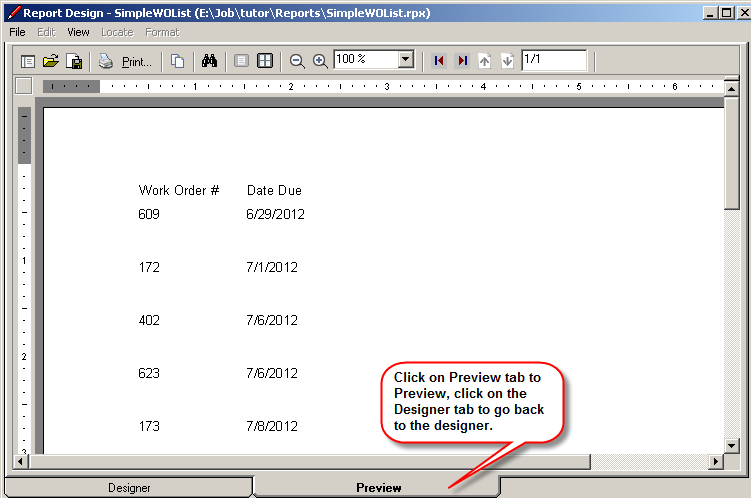
12. Preview the report. Click on the Preview Tab at the bottom of the screen to see what your report looks like. You will be prompted for the Report Criteria:
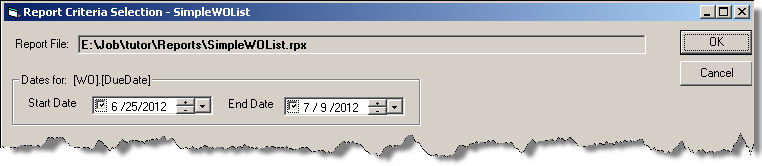
13. Set the dates (or take the default) and click OK.
14. From the Designer, click File, Exit. The report will now be available to other users from the Reports Form.