Installing Aspen 4.0 - 7.0 on Windows Vista
Until Telecation can develop an install routine to register files correctly in Windows Vista, we have devised a work around.
Read instructions all the way through before starting, be sure you are comfortable with Vista and are logged in as the administrator.
Obtain the following files from the Telecation support department.
1. Access2KRuntime.msi and Data1.cab - If you would like to install the Runtime Version of MS Access.
2. Vista Dll package (a file with 7 objects)
3. Registry.txt
4. AspenShortcut.txt
Copy the following files from a previous installation up to a network area that the Vista workstation has access to:
- Program.mdb
- AspenUser.mdb
- asplib.mde
- scheduler.mde
- InstrMaintLog.mde
Follow the steps below:
- Copy the 5 files listed above to a local directory on your Vista workstation. If you plan on using a different version of MS Access you will not need the Access2KRuntime.msi file or the Data1.cab file. You will however need to install MS Access from your own install CD.
- If you plan to install MS Access 2000 runtime run the Access2KRuntime.msi file.
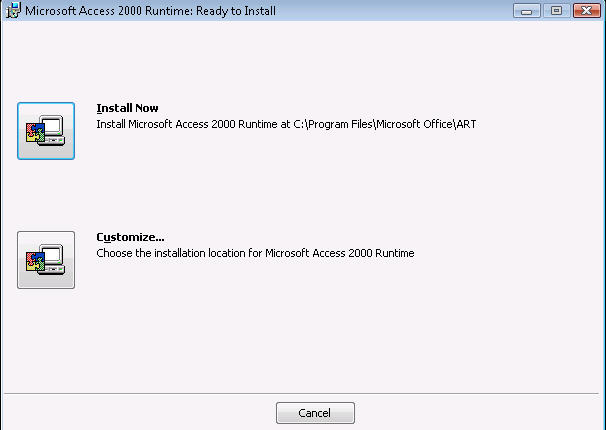
You can decide to select Install Now or choose Custom.
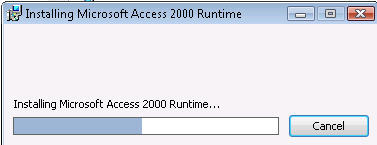
- If you choose to Customize you will be asked the path for the installation. After you make your choice Vista will present you with a confirmation screen. You will be asked if it is safe to continue with the installation. Click on Allow. The install will proceed and when done present a complete dialog. Click OK.
- Create an Aspen Folder somewhere in Vista Example: C:\Program Files\Telecation\Aspen x.x (x.x being your current version). Copy the contents of the dll package into this new folder. At this time also copy the 5 database files that you copied to the shared network location into this new folder.
- You will need to manually create a shortcut for Aspen. Open the AspenShortcut.txt file, copy the contents of the file into the clipboard.
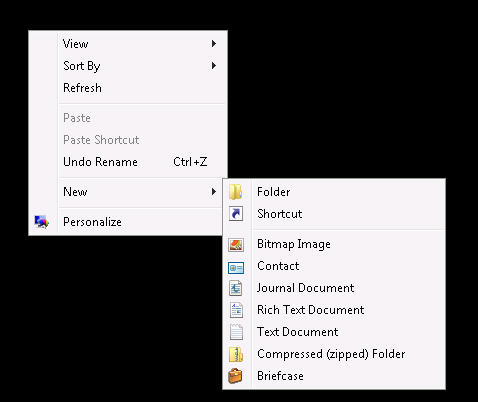
- Now right click on the Desktop and select to create a new shortcut:
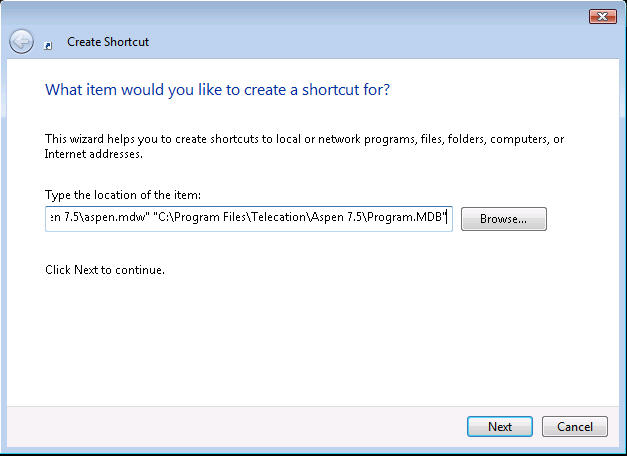
- The Windows shortcut wizard will be presented. Paste the txt file from step 6 into the field– “Type the location of the item:” from the clipboard. You will need to modify this command line:
- Indicate the correct path to where msaccess.exe is installed
- Changed the install path to point to the network copy of the aspen.mdw file
- Indicate the correct path to program.mdb. Click Next
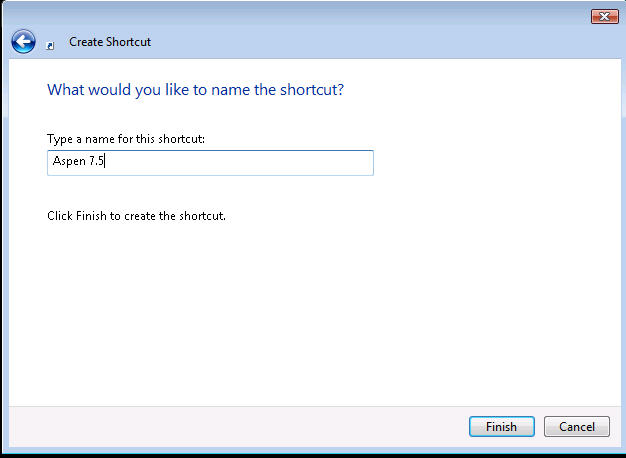
- Next enter the name of the shortcut: Aspen x.x (x.x being the version of Aspen you are installing) Click Finish
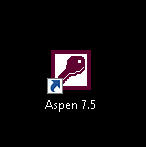
- The shortcut will look like this (with the version you typed into step 8):
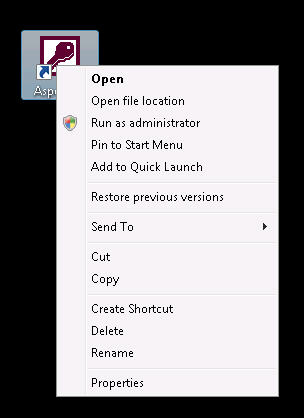
- Now you need to change the icon for the shortcut. Right click on the Aspen x x shortcut and select properties.
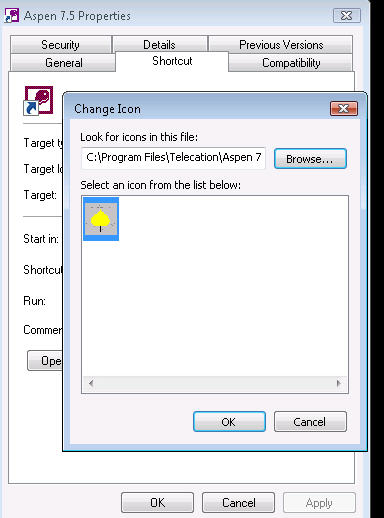
- Click on the button – Change Icon

- Using the Browse button path yourself to the directory where you installed Aspen. Example: C:\Program Files\Telecation\Aspen x.x. Select the Aspen.ico file
- Click on OK, then click Apply and finally click OK again. You will be back at the Desktop and your icon will now look like this:
- One last step before starting the application. You need to manually register several dll’s and ocx files. Open the Registry.txt file.
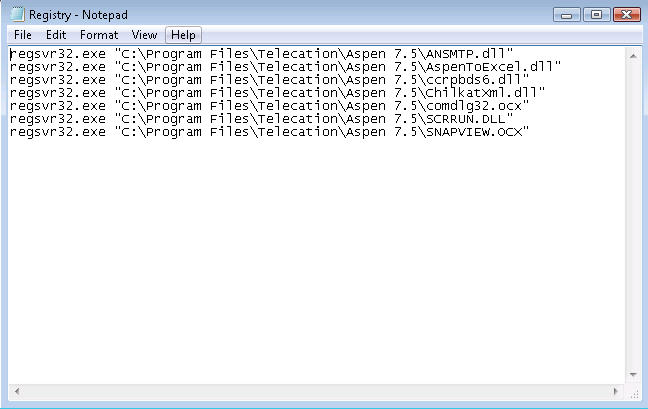
- Modify the path indicating where you copied the files from the dll package and where the 5 database files reside. When you are finished making the necessary modifications copy the entire contents too the clipboard. (Do not delete the regsvr32.exe text at the beginning of each line, just change the C:\Program Files\Telecation\Aspen x.x to your Aspen directory)
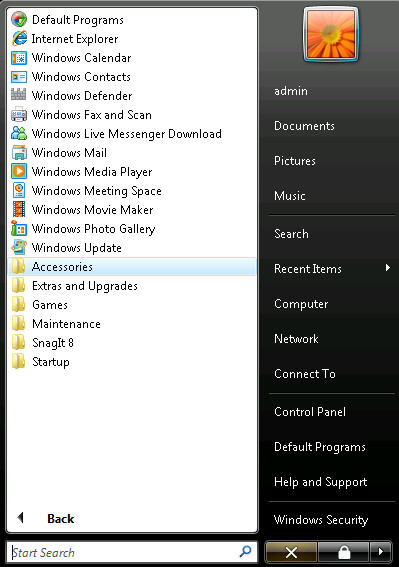
- Now open the cmd line. Select the Start Orb and click All Programs, then click on Accessories.
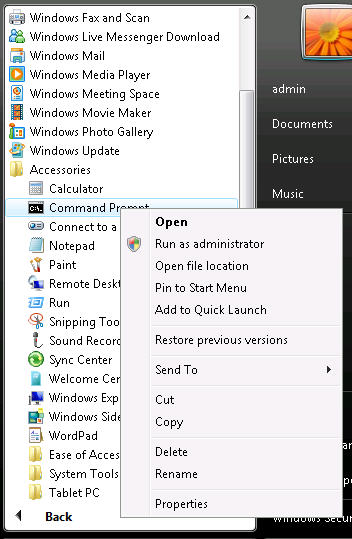
- Right click on Command Prompt and choose to “Run as administrator.” Vista will present a prompt asking if it is ok to run the command windows- click Continue.
- The command prompt will open. Place your cursor after the C:\Windows\system32>
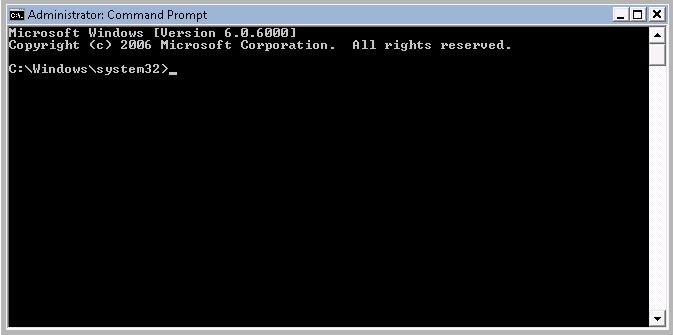
- Right click and choose paste

-
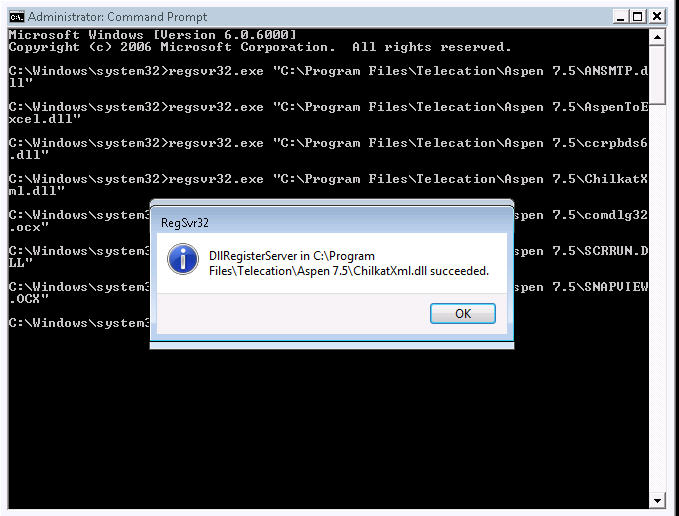
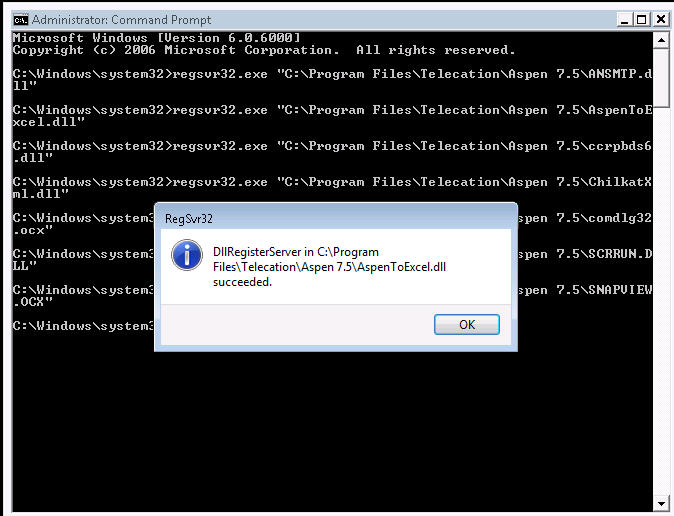
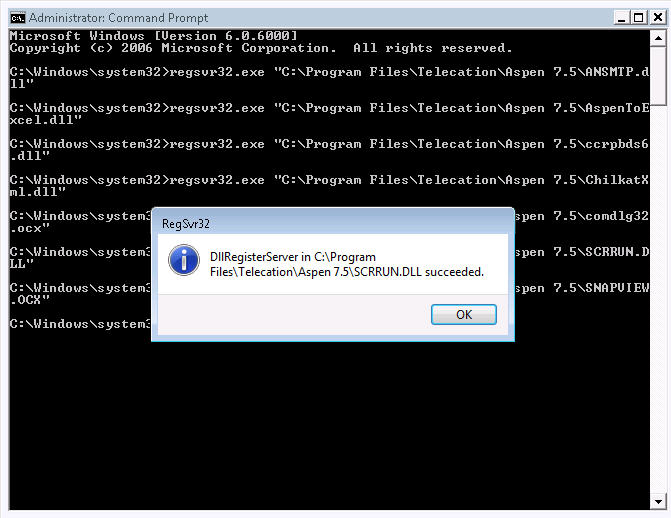
The following installation messages will be displayed (not necessarily in the same order, you dialog will indicate the path you modified in step 14). Click OK on each dialog box.


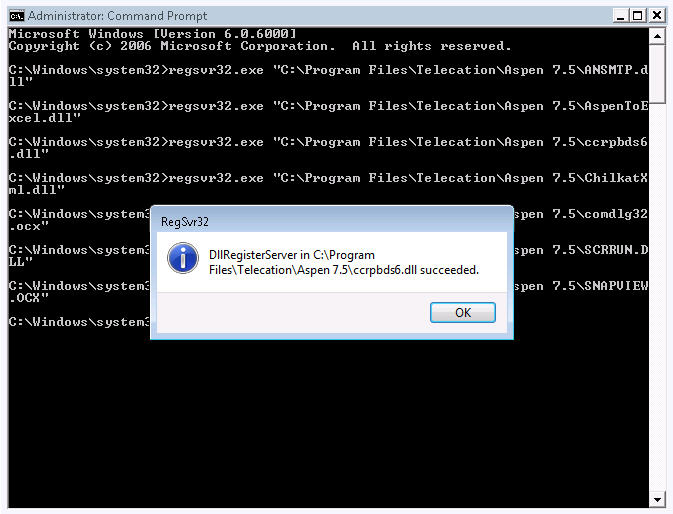

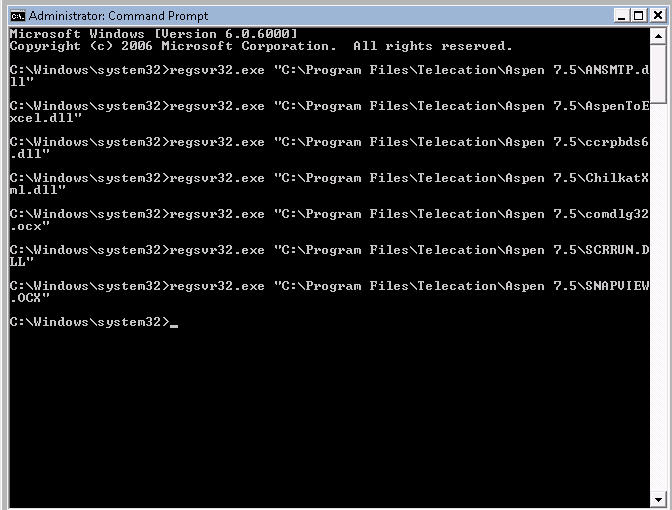
- After confirming the each successful install you will be brought back to the command window. You can close this window.
- You are ready to start Aspen x.x. Proceed with the instructions outlined in the Installation Chapter of the System Administration manual.